How to Replace a Rear Brake Light on a VW Caravelle
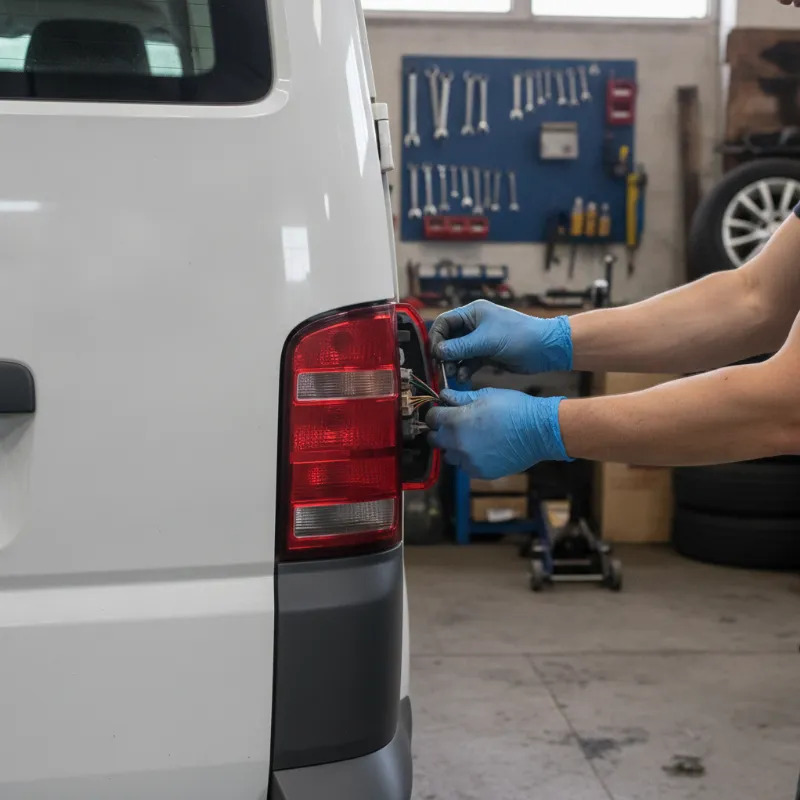
How to replace the rear brake light on a VW Caravelle
A blown rear brake light is one of the most common — and most important — small faults you'll encounter on a VW Caravelle. Not only does it put you at risk of a fine or an MOT advisory, but it also seriously reduces how visible your van is to drivers behind you, especially at motorway speeds or in poor weather. The good news is that on the Caravelle (T5, T6 and T6.1 shapes) the rear brake light bulb is one of the easier jobs you can tackle yourself on the driveway, usually in under 15 minutes and without any specialist tools.
This guide walks you through the whole process, from working out which bulb has failed, to getting the light cluster open, swapping the bulb and making sure everything is back together properly. If you're not confident with any stage of the job, we'll also cover when it's better to hand the van over to a technician instead.
Tools and parts you'll need
Before you start, gather everything so you're not hunting for a screwdriver with the tailgate half apart. For a rear brake light change on a VW Caravelle you'll typically need a Phillips or Torx screwdriver (depending on model year), a clean cloth or a pair of thin cotton gloves, and of course the correct replacement bulb. It's also worth having a small container to hand to keep any screws or clips safe, and a torch if you're working in a garage or after dark.
Always work on a cool light cluster — brake bulbs can get hot after use — and make sure the ignition is off and the key is out before you start dismantling anything.
Choosing the right replacement bulb for your VW Caravelle
Most VW Caravelles use a P21W bulb for the brake light function, though later T6.1 models and some higher-spec trims use LED clusters that aren't user-serviceable in the same way. Before you buy, check your owner's handbook or take the existing bulb out and read the code printed on the metal base. Common fitments include P21W (single filament, bayonet fitting) and PR21W on some markets.
Stick to a reputable brand — Osram, Philips or Bosch are safe choices — and always replace bulbs in pairs where possible, as a bulb that has failed on one side is often a sign the other isn't far behind. Avoid touching the glass of a new bulb with bare fingers, as oil from your skin can shorten its life.
Step-by-step: replacing the rear brake light on a Volkswagen Caravelle
With your tools and new bulb ready, you can work through the following three stages. The process is broadly the same across T5, T6 and T6.1 Caravelles, with only minor differences in how the cluster is held in place.
Accessing the rear light cluster from inside the tailgate
On the Caravelle, the rear light clusters are accessed from behind — you don't remove the lens from the outside. Open the tailgate (or the barn door on twin-door models) and locate the trim panel or access flap on the inside edge closest to the light unit. On most Caravelles there's a small removable cover secured by a plastic clip or a couple of Torx screws.
Remove the cover carefully — the plastic can become brittle with age — and you'll see the back of the light cluster with the bulb holder assembly visible. On barn-door models you'll usually find two nuts or wing-nuts securing the cluster; on tailgate models it's often a single twist-lock bulb holder that comes out without disturbing the whole cluster.
Removing the old bulb and fitting the new one
Twist the bulb holder anti-clockwise (usually about a quarter turn) and pull it gently out of the cluster. The brake light bulb is typically the largest of the bulbs in the holder, sitting in the position that lines up with the red brake light section of the lens. Push the bulb in slightly and twist it anti-clockwise to release it from the bayonet fitting.
Take your new bulb, line up the pins with the slots, push in gently and twist clockwise until it locks. Give it a light tug to check it's seated properly. If the pins don't line up straight away, look closely — one pin is often slightly offset to prevent it being fitted the wrong way round.
Refitting the cluster and testing the brake light
Refit the bulb holder into the cluster and twist clockwise until it locks. Before you put the trim cover back on, it's worth testing the light so you don't have to take everything apart again. Ask someone to press the brake pedal with the ignition on, or wedge the pedal down with a broom handle from the driver's seat and walk round to check. You should see a bright, even red light.
If it works, refit the access cover, tighten any screws and close the tailgate. If it doesn't, don't panic — jump to the troubleshooting section below.
Common issues and troubleshooting
If your new bulb doesn't light up, first double-check it's the brake light circuit you're testing and not the tail light or fog light. Then look at the contacts inside the bulb holder — corrosion or a bent contact is a very common cause of failure on older Caravelles that have carried a lot of load or seen damp winters. A gentle clean with a small wire brush or contact cleaner often solves it.
Other things worth checking include the fuse (consult your handbook for the correct fuse number), the brake light switch on the pedal box (a known weak point on the T5 in particular), and the earth connection at the rear of the vehicle. If the bulb blows again quickly, you may have a wiring fault or a water ingress issue in the cluster itself, both of which are worth getting looked at properly.
When to book a professional check instead
Replacing a bulb is a straightforward DIY job, but there are situations where it's better to let a garage take over. If your Caravelle has LED rear clusters, these can't be re-bulbed in the traditional sense and usually require either a full cluster replacement or a specialist repair. Likewise, if you're getting repeated brake light failures, a warning message on the dash, or the light works intermittently, there's likely an underlying electrical fault that needs proper diagnosis.
It's also worth booking in if you've noticed condensation inside the lens, cracks in the plastic, or if the cluster feels loose when you press it. A workshop can pressure-test the seals and, if needed, source a replacement unit. For working vans that are on the road all day, a quick professional check every service can prevent small faults becoming MOT failures.
Looking after your Caravelle — and finding your next one
The VW Caravelle is a superbly durable van, but like any vehicle it rewards regular checks. Walk around it once a week with the engine running and a helper pressing the brake pedal — it takes 30 seconds and catches bulb failures before they become a problem. Keep a spare P21W bulb in the glovebox and you'll never be caught out on a long trip.
If your Caravelle is starting to show its age, or you're thinking about upgrading to a newer T6.1 with LED lighting, factory Bluetooth and the latest driver aids, it's worth having a look at what's on the market. Whether you're after another Caravelle for family and business use, or considering a switch to a Transporter panel van or Multivan, taking the time to compare specs, mileage and service history will pay off in the long run.
FAQs
How do I replace the rear brake light on a VW Caravelle?
Open the tailgate or barn door, remove the small trim cover on the inside edge next to the light cluster, twist the bulb holder anti-clockwise and pull it out. Push the old P21W bulb in slightly and twist anti-clockwise to release, fit the new bulb by lining up the pins and twisting clockwise, then refit the holder and test with the brake pedal before replacing the trim cover. The whole job usually takes 10–15 minutes.
What bulb does a VW Caravelle rear brake light use?
Most T5 and T6 Caravelles use a standard P21W bayonet-fit bulb for the brake light function, though some markets and trims use PR21W. Later T6.1 models and higher-spec variants may have LED clusters that can't be re-bulbed. Always check the code stamped on the base of the existing bulb, or consult your owner's handbook, before buying a replacement.
Why does my Caravelle brake light keep blowing?
Repeated bulb failure is usually caused by one of three things: cheap or poor-quality bulbs, moisture inside the light cluster corroding the contacts, or a wiring or earth fault causing voltage spikes. Try a branded bulb first, check for condensation inside the lens, and if the problem continues have the wiring and earth points at the rear of the van inspected by a garage.
Will a blown brake light fail my MOT?
Yes — a non-functioning brake light is an automatic MOT failure in the UK, as brake lights are a mandatory safety item. It can also earn you a fixed penalty notice if you're stopped by the police. Because bulbs can fail without warning, it's a good habit to check your brake lights weekly, especially before long trips or MOT day.
Do I need to disconnect the battery to change a Caravelle brake light bulb?
No, you don't need to disconnect the battery to change a standard bulb — just make sure the ignition is off and the key is out of the barrel before you start. Only disconnect the battery if you're removing the full light cluster for repair or replacing wiring, in which case it's a sensible precaution to avoid shorts.