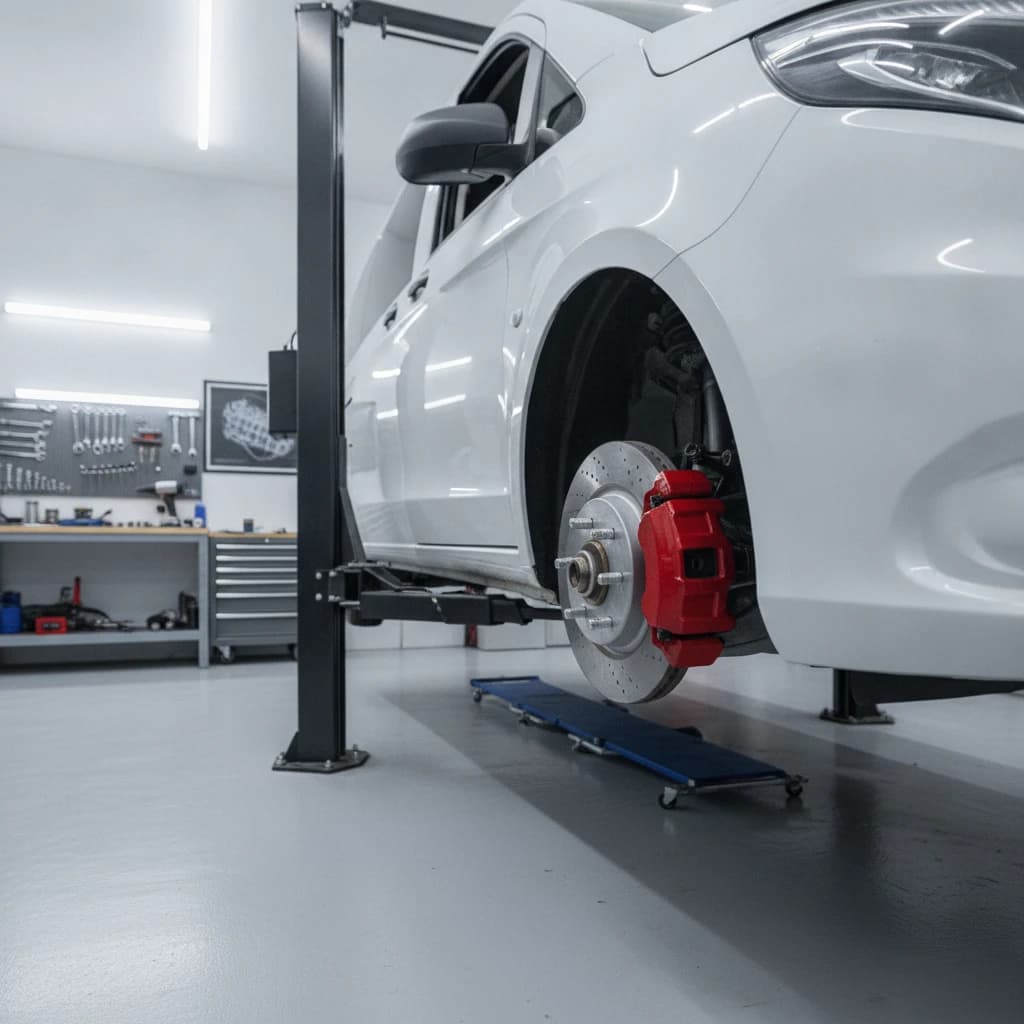
How to Change Mercedes Vito Brake Pads: A Step-by-Step Guide
How to change Mercedes Vito brake pads: what you'll need
Changing the brake pads on a Mercedes Vito is a job many confident DIY mechanics can tackle at home, provided you have the right tools, a safe working environment and a methodical approach. The Vito uses a fairly conventional disc brake setup on the front and rear, so the process will feel familiar if you've worked on other vans or cars before. That said, it's a van used for carrying serious weight, so getting the job right is non-negotiable.
Before you pick up a spanner, gather everything you need and make sure you understand the safety implications. Rushing a brake job is one of the fastest ways to cause yourself or your passengers real harm, so give yourself plenty of time and don't attempt it if the weather, lighting or your workspace isn't up to scratch.
Tools and parts checklist
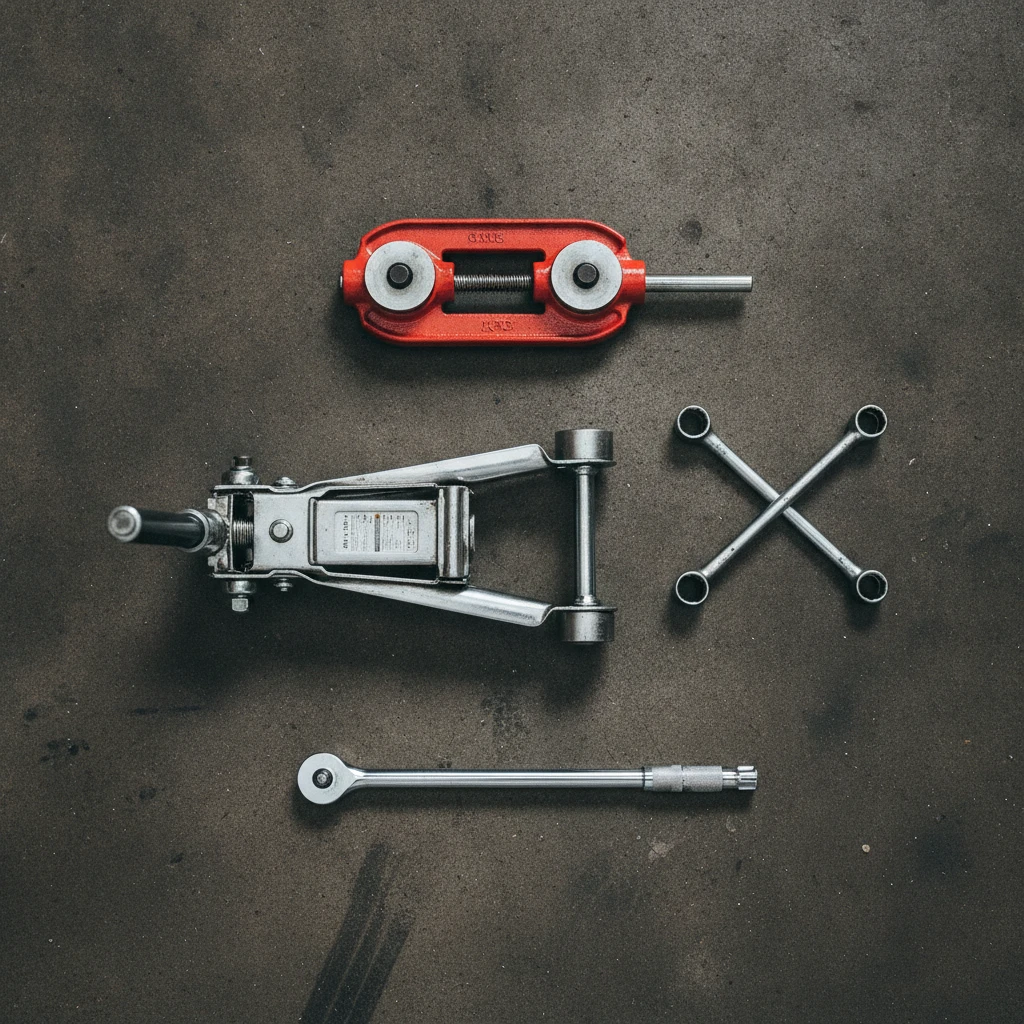
You'll need a socket set with a good ratchet, a torque wrench capable of the correct wheel nut torque (usually around 140–180 Nm on a Vito, but always check your handbook), a trolley jack rated for the weight of the van, two heavy-duty axle stands, and a wheel brace. For the caliper itself, you'll want a set of Allen or Torx bits, a brake piston rewind tool (particularly for the rears if they incorporate the handbrake), a G-clamp, and a wire brush for cleaning the caliper carrier.
On the parts side, buy a genuine or reputable OE-quality set of brake pads specific to your Vito's model year and variant — the W447, W639 and earlier W638 all differ. It's also worth having a tin of copper grease or ceramic brake grease, brake cleaner spray, and a small container of fresh DOT 4 brake fluid in case you need to top up the reservoir. Some owners also replace the pad retaining clips and anti-rattle shims at the same time.
Safety precautions before you start
Work on a flat, solid surface — ideally a concrete driveway or garage floor. Never rely on a jack alone; always support the van on axle stands rated for the load. Chock the wheels that remain on the ground, put the van in gear (or Park on an automatic) and, once the rear is secure, release the handbrake if you're working on the rear brakes.
Wear safety glasses and disposable gloves, because brake dust can be an irritant. Avoid inhaling dust when cleaning the caliper. Have a clean workspace to lay parts out in order, and never let the caliper hang by the flexible brake hose — support it with a cable tie or bungee cord to prevent damage.
Step-by-step guide to changing Mercedes Vito brake pads
With your tools laid out and safety measures in place, you can start the job itself. The Vito's brakes are straightforward, but take your time with each step and don't force anything — if a bolt feels excessively tight or seized, apply penetrating fluid and give it time to work rather than risk snapping it.
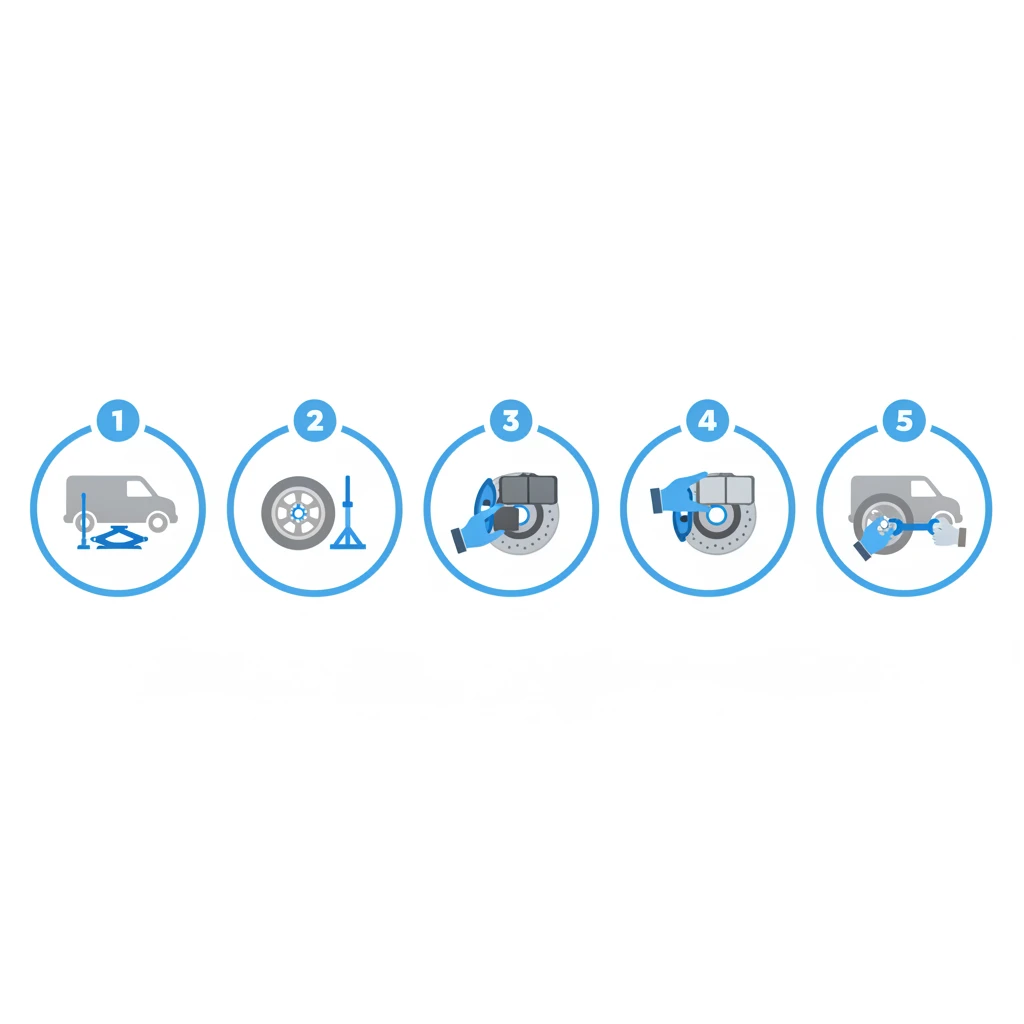
Step 1: Loosen wheel nuts and jack up the van
With the van still on the ground, use your wheel brace to crack each wheel nut loose by around half a turn. Don't remove them yet — you just want to break the initial torque while the wheel is stable. Locate the manufacturer's jacking point (consult your handbook if you're unsure — using the wrong point can damage the sills or subframe) and raise the van steadily. Once high enough, position an axle stand under a structural point and lower the van gently onto it.
Step 2: Remove the wheel and inspect the caliper
Undo the wheel nuts fully and lift the wheel away — Vito wheels can be heavy, so mind your back. With the wheel off, you'll see the caliper sitting over the disc. Inspect it for leaks, torn dust boots on the slider pins, and check the disc surface for deep scoring, cracks or a pronounced lip on the edge. If the disc looks tired, it's worth replacing pads and discs together rather than fitting new pads to worn discs.
Step 3: Remove the old brake pads
Undo the two guide bolts on the back of the caliper (usually needing an Allen or Torx bit, and often a spanner to hold the slider pin still). Lift the caliper body off the carrier and support it with a cable tie so the hose isn't strained. The old pads should now slide out of the carrier — note their orientation before removing them, as inner and outer pads sometimes differ, and any wear sensor wires should be unclipped carefully.
Give the caliper carrier a good clean with a wire brush and brake cleaner, paying attention to the areas where the pads sit. Any built-up rust or debris here can cause the new pads to bind and wear unevenly.
Step 4: Compress the piston and fit new pads
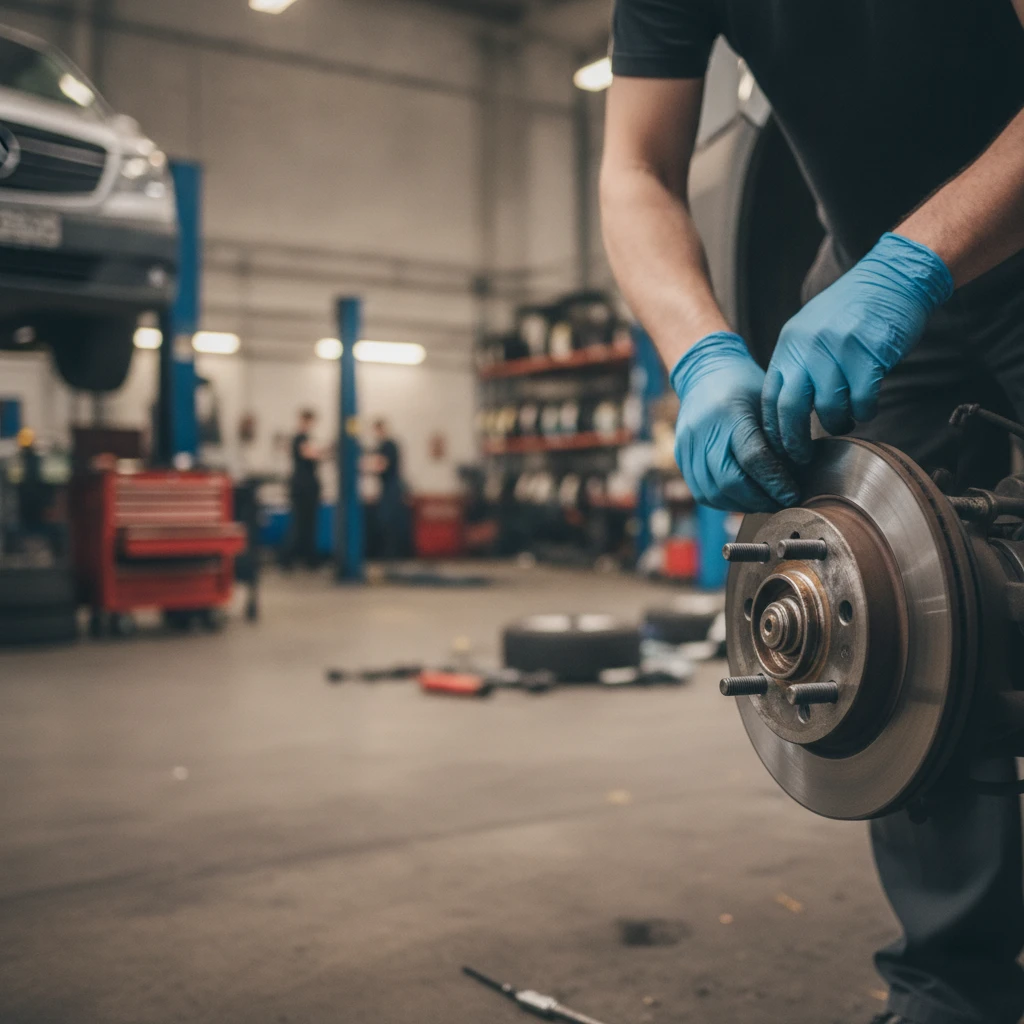
Before you can fit thicker new pads, you'll need to push the caliper piston back into its bore. On the front calipers, a G-clamp usually does the job — press slowly and evenly. On the rear calipers, if your Vito uses an integrated electric or cable handbrake mechanism, the piston needs to be wound back with a rewind tool, not simply pushed. Keep an eye on the brake fluid reservoir under the bonnet as you do this, because fluid will be pushed back up and may overflow if it's already near the max mark.
Apply a thin smear of brake grease to the backs of the new pads and to the contact points on the carrier — never on the friction surface. Slide the new pads into position, refit the caliper over them, and torque the guide bolts to the manufacturer's specification. Reconnect any wear sensor wires.
Step 5: Refit the wheel and bed in the pads
Refit the wheel, hand-tighten the nuts, then lower the van back to the ground before torquing the nuts to the correct figure in a star pattern. Before you drive anywhere, sit in the driver's seat and pump the brake pedal several times until it feels firm — this pushes the pistons back out against the new pads. Never skip this step, or your first press of the pedal on the road will do nothing.
Once on the road, bed the pads in by performing a series of moderate stops from around 30–40 mph, allowing the brakes to cool between each. Avoid heavy braking for the first 200 miles or so to allow the friction material to transfer evenly to the disc.
How often should Mercedes Vito brake pads be replaced?
There's no single answer, because pad life depends heavily on how the van is used. A Vito that spends its life on motorways with light loads might see front pads last 40,000 miles or more, whereas a fully-loaded urban delivery Vito stopping and starting all day could wear a set out in 15,000–20,000 miles. Rear pads typically last longer than fronts, as the front brakes do the majority of the work.
Rather than relying on mileage alone, get into the habit of visually checking the pads every service or whenever the wheels are off. Most manufacturers recommend replacement when the friction material is down to around 3mm. Warning signs to listen out for include a squealing wear indicator, a grinding noise (which usually means the pads are already metal-on-disc), longer stopping distances, or a pulsing brake pedal.
When to leave it to a professional
While changing pads is within reach of a competent home mechanic, there are situations where handing the job to a qualified technician is the sensible choice. If your Vito has an electronic parking brake that requires diagnostic software to retract and reset the rear caliper pistons, doing the job at home without the right kit risks damage. Likewise, if the discs are also worn, if you find a seized slider pin, a leaking caliper, or corroded brake lines, these need addressing properly before the van goes back on the road.
Brakes are the single most important safety system on any vehicle, and on a working van that regularly carries heavy loads or passengers, that importance is amplified. If you have any doubt about your ability to complete the job safely, or you don't have the tools to torque everything correctly, book it in with a Mercedes specialist or a trusted independent garage. The cost is modest compared with the consequences of a botched brake job.
Looking for a Mercedes Vito? Explore our range
Keeping on top of maintenance jobs like brake pads is a big part of getting long, reliable service from a Vito — but no amount of servicing can extend the life of a van that's simply past its best. If yours is starting to feel tired, or you're looking to add another Vito to your fleet, it might be time to consider an upgrade.
We stock a wide selection of used and nearly new Mercedes Vito vans across different body styles, engine sizes and specifications, from compact panel vans ideal for city work to long-wheelbase crew vans set up for teams and tools. Every van we sell is inspected, prepared and ready to work, and our team is on hand to talk you through the options, arrange a viewing or discuss part-exchange against your current vehicle. Get in touch and we'll help you find a Vito that suits your business and your budget.
FAQs
What are the correct steps to safely change the brake pads on a Mercedes Vito?
The correct process is: loosen the wheel nuts, safely jack up the van and support it on axle stands, remove the wheel, unbolt the caliper guide bolts, lift the caliper clear and support it so the hose isn't strained, remove the old pads and clean the carrier, compress or wind back the piston, fit the new pads with a smear of brake grease on the backs, refit the caliper and torque the bolts to spec, refit the wheel, torque the nuts, then pump the brake pedal firm before driving and bed the pads in with gentle stops for the first couple of hundred miles.
Do I need to wind back the piston on the rear Mercedes Vito calipers?
Usually yes. Where the rear caliper incorporates the handbrake mechanism, the piston has to be rotated back into its bore using a rewind tool rather than simply pushed with a G-clamp. If your Vito has an electronic parking brake, you may also need diagnostic equipment to put the caliper into service mode, in which case the job is better left to a garage.
How much does it cost to have Mercedes Vito brake pads changed at a garage?
Costs vary by region, whether you use a main dealer or an independent, and whether you're doing fronts, rears or both. As a rough guide, expect to pay somewhere between £120 and £250 per axle for parts and labour at an independent specialist, with main dealer prices typically higher. If discs need replacing at the same time, budget more.
Can I drive my Vito straight away after changing the brake pads?
You can drive it, but you shouldn't drive it hard. Before pulling away, pump the brake pedal several times until it feels firm — this pushes the pistons back into contact with the new pads. Then bed the pads in with a series of moderate stops from around 30–40 mph, avoiding harsh braking for the first 150–200 miles so the friction material can transfer evenly to the disc.